A PPE hazard assessment is the written walkthrough that tells you exactly which gloves, glasses, boots, and respirators your crew needs, and OSHA has required one on covered job sites since 1994. Skip it and you are guessing. Guess wrong on a project in Chicago or Houston and someone ends up in the emergency room, a citation lands, or both. This guide walks through the nine steps our consultants follow to run a PPE hazard assessment that holds up under an OSHA inspection and, more to the point, keeps people whole. No theory. Just the order of operations we have used on real sites across the 12 states we have served since 2003, from Plainfield, Illinois to the Houston Ship Channel.
Table of Contents
- What a PPE Hazard Assessment Covers
- Why OSHA Requires a PPE Hazard Assessment
- The 9 Steps to a Complete PPE Hazard Assessment
- How to Document and Certify the Assessment
- Five Mistakes That Fail an Audit
- Keeping the Assessment Current in Illinois and Texas
- Frequently Asked Questions
What a PPE Hazard Assessment Covers
A PPE hazard assessment is a task-by-task review of a workplace to find the hazards that personal protective equipment is meant to control. It is not the same as a full site safety audit, though the two work together. A site audit looks at the whole safety program, from fall protection to housekeeping. The hazard assessment for PPE zeroes in on one question: where can a worker be struck, cut, burned, splashed, crushed, or exposed, and what does that person need to wear to walk away clean.
A complete assessment looks at every part of the body that equipment can protect:
- Eyes and face from flying particles, chemical splash, molten metal, and light radiation.
- Head from falling or fixed objects and electrical contact.
- Feet from rolling, falling, and sharp objects, plus wet and slick surfaces.
- Hands from lacerations, abrasion, punctures, heat, and chemical contact.
- Hearing from noise levels that climb above the action limit.
- Lungs from dust, fumes, vapors, and other air contaminants.
That last line, respiratory protection, is where a PPE hazard assessment often crosses into our industrial hygiene services, because you cannot pick a respirator until you know what is in the air and at what concentration. Sampling comes first, guesswork does not.
It helps to think of the assessment as the bridge between a hazard and a purchase order. On one side sits a real threat, a spinning blade or an airborne solvent. On the other sits a specific product with a rating that controls it. The assessment is the reasoning that connects the two, and it is the reason a supervisor can answer, without hesitation, why a given worker wears a given glove. When that reasoning lives only in someone’s head, it walks out the door the day that person leaves.
Why OSHA Requires a PPE Hazard Assessment
The requirement is not a suggestion. Under OSHA standard 1910.132(d), every employer must assess the workplace to determine whether hazards are present that call for PPE. If they are, the employer has to select the right equipment, tell workers why they need it, and make sure it fits. The same standard, at 1910.132(d)(2), requires you to put it in writing through a hazard assessment certification.
That certification has to name the workplace evaluated, the person who did the evaluation, the date, and identify the document as a hazard assessment. Inspectors ask for it by name. When a company hands us a binder during a mock inspection and there is no signed, dated assessment inside, that is usually the first paper citation of the day. OSHA’s own personal protective equipment overview spells out the same chain: assess the hazard, pick the gear, train the worker, verify the fit.
There is a business case underneath the legal one. Head, eye, foot, and hand injuries are some of the most common recordable events on construction and industrial sites, and nearly all of them trace back to either the wrong PPE or no PPE at all. A documented PPE hazard assessment is the cheapest insurance you will buy this year. It is also what an insurance carrier or project owner wants to see before they hand you the next contract.
The 9 Steps to a Complete PPE Hazard Assessment
Here is the sequence we run on a PPE hazard assessment, in the order that keeps you from missing anything. Work it top to bottom the first time, then repeat it whenever the job changes.
Step 1: Map every work area and task
Walk the site with a notepad and list each physical area and each task performed in it. A welding bay, a loading dock, a confined tank, a scaffold run, and a parts washer are five different hazard profiles even if they sit under one roof. Tasks matter as much as places, because grinding in the open yard exposes a worker to the same sparks as grinding in the shop. Do not shortcut this step from memory. The hazard you never wrote down is the one that hurts someone.
Step 2: Identify the hazards present in each area
For every area and task, name the specific hazards. Group them the way OSHA does: impact, penetration, compression, chemical, heat, harmful dust, light radiation, noise, and electrical. Be concrete. Not “sharp stuff” but “unguarded rebar at knee height” and “box cutters used one-handed.” The more precisely you name the hazard, the easier the PPE choice becomes two steps later. This is also where an on-site safety audit pays off, because a fresh set of trained eyes catches the hazards a crew has stopped noticing.
Step 3: Match hazard categories to the body parts at risk
Now connect each hazard to the part of the body it threatens. Flying particles threaten eyes and face. Dropped tools threaten heads and feet. Caustic cleaners threaten skin, eyes, and lungs. A single task often threatens several body parts at once, so a worker at a cutting station may need eye, face, hand, and hearing protection together. Building this map is the core of any PPE hazard assessment and it is where a rushed review usually leaves a gap.
Step 4: Rank each hazard by severity and likelihood
Not every hazard carries the same weight. Rank each one by how badly it could hurt someone and how often workers are exposed. A rare event with a fatal outcome and a daily event with a painful but survivable outcome both deserve attention, but they may call for different grades of protection. This ranking keeps you from over-equipping low-risk tasks, which sounds cautious but actually breeds the habit of ignoring gear that feels pointless.
Step 5: Select PPE that meets the right consensus standard
Match protection to hazard, then match the product to the standard. Safety glasses should meet ANSI Z87.1. Hard hats should meet ANSI Z89.1. Protective footwear should meet the current ASTM F2413 impact and compression ratings. Cut-resistant gloves carry an ANSI cut level from A1 to A9, and matching that level to the blade exposure is not a guess. Write the exact rating into the assessment so the person doing the purchasing orders the right item, not the cheapest one on the shelf.
Step 6: Check the fit for every worker
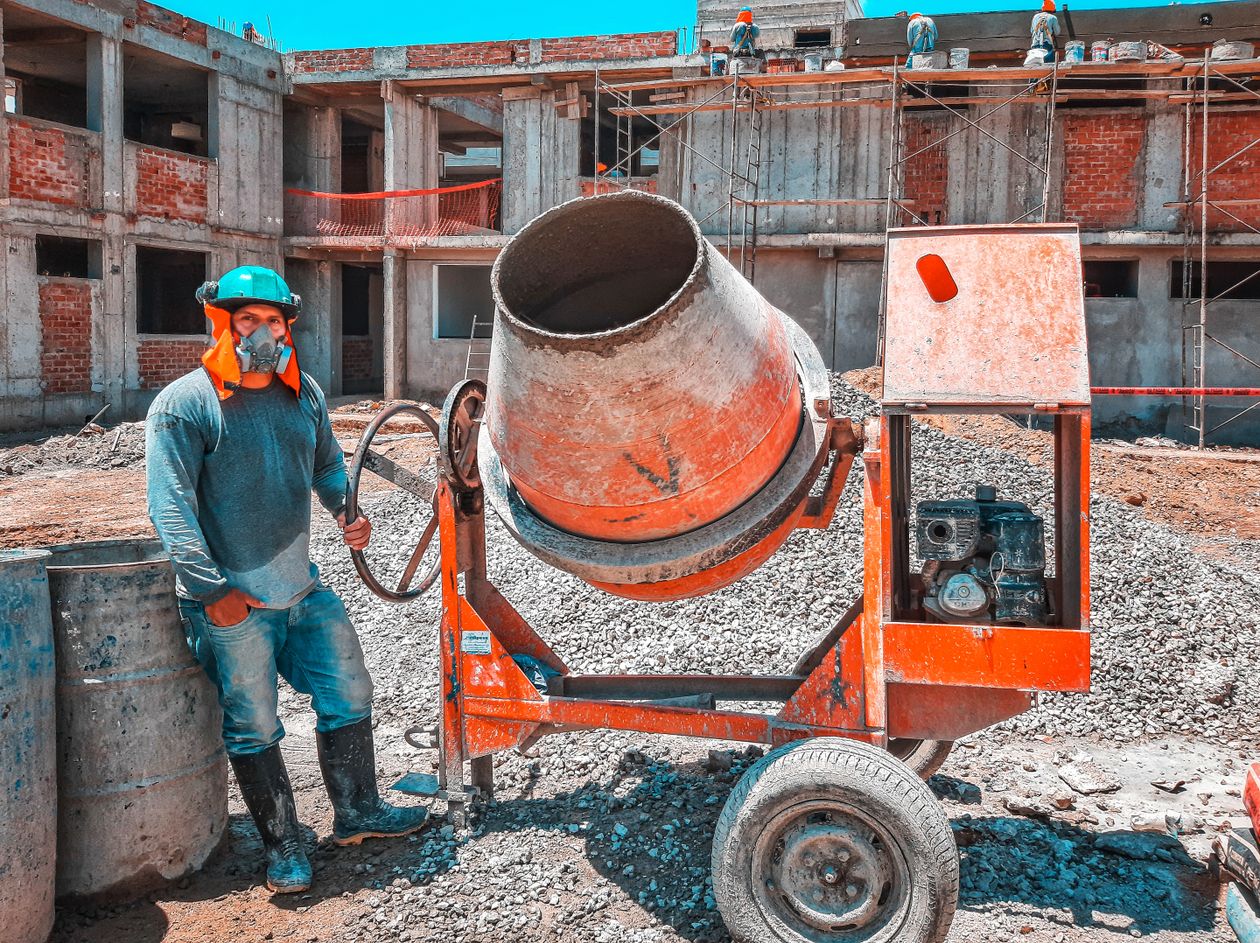
PPE that does not fit does not protect. A respirator with a broken seal, a harness cinched wrong, or gloves two sizes too big are hazards wearing the costume of safety. Fit is personal, which means a program that buys one size of everything has already failed part of its PPE hazard assessment. Respirators in particular require fit testing before a worker relies on one, and that testing has to be documented alongside the assessment.
Step 7: Train the crew before the gear goes on
OSHA requires training on when PPE is needed, how to put it on and take it off, its limits, and how to care for it. A worker who does not know a chemical glove has a breakthrough time is one exposure away from an injury the glove was supposed to prevent. Tie the training back to the assessment so the reasons are concrete, and keep the sign-in sheets. Our safety training programs are built to line up with a site’s own hazard assessment rather than a generic slide deck, because a crew learns faster when the example on screen is the task they run every day.
Step 8: Write and sign the certification
This is the step that turns good field work into a compliant record. Put the assessment in writing, name the workplace, sign it, and date it. One clean document per site, updated rather than replaced, gives an inspector or an insurance carrier a straight line from hazard to protection. It also gives a new supervisor an instant briefing on why the crew wears what it wears.
Step 9: Reassess whenever the work changes
A PPE hazard assessment is a living document, not a one-time form. New equipment, a new chemical, a new process, or a new phase of a build can introduce hazards the original review never saw. Set a schedule to revisit it, and trigger an immediate review after any near miss or injury. When something does go wrong, our accident investigation work almost always circles back to a hazard the assessment had not yet caught.
How to Document and Certify the Assessment
Documentation is where most programs either pass or fail. The written certification does not have to be long, but it does have to exist and it has to be findable. At a minimum, capture the workplace evaluated, the name of the person who performed the assessment, the date it was done, and a clear statement that the document is a hazard assessment certification. Attach the hazard-to-PPE map, the standards each item must meet, and the fit-test and training records.
Keep it in one place your supervisors can reach, not buried in an email chain. When we help a client stand this up as part of a full program implementation, we build it so a foreman can pull the current assessment in under a minute during an inspection. The goal is simple: no one should ever have to reconstruct the reasoning behind a piece of gear after the fact.
Five Mistakes That Fail an Audit
After enough mock inspections, the same gaps show up again and again. Watch for these five.
- No signature or date. An unsigned assessment is treated as no assessment. This is the most common paper citation we see.
- Assessing places but not tasks. A room may look calm while the job done in it is the actual hazard. Review both.
- Buying by price instead of rating. A glove that does not meet the cut level you documented is worse than useless, because everyone assumes it works.
- Skipping respirator fit testing. A respirator with a bad seal gives a false sense of safety. Fit test, then document it.
- Never updating the document. A two-year-old assessment that predates your newest process will not survive an inspection or, worse, an incident.
Keeping the Assessment Current in Illinois and Texas
We run PPE hazard assessments out of two offices, one near Plainfield and Chicago, Illinois, and one in Houston, Texas, and the climate alone changes the work. A Houston site in July asks more of a heat-illness plan and the hydration side of PPE than a January job outside Chicago, where cold-weather gear and slip protection move up the list. The hazards on the assessment shift with the season, the trade, and the phase of the build.
That is why the reassessment step is not optional. A crew that pours concrete in the spring and welds structural steel in the fall is running two different hazard profiles under one project number. The assessment has to keep pace. Whether the site is in Illinois, Texas, or one of the other states we serve, the discipline is the same: name the hazard, match the protection, train the worker, and write it down.
Multi-state contractors run into one more wrinkle. A single company can operate under federal OSHA on one project and a state-plan program on the next, and the paperwork expectations are not always identical. The safest habit is to build every PPE hazard assessment to the stricter reading, so the same document holds up no matter which inspector walks the site. We keep our clients’ assessments consistent across every job they run, which spares a foreman from guessing which version applies this week.
Get a Second Set of Eyes on Your PPE Hazard Assessment
If you are not certain your PPE hazard assessment would survive an OSHA inspection, that uncertainty is worth a phone call before an inspector or an injury forces the question. Our consultants hold CSP, CHST, and ASP credentials and have run these assessments on projects from the Fox River bridges to transit systems since 2003. Contact Sheffield Safety and we will walk your site, build or review the assessment, and hand you a document you can stand behind.
Frequently Asked Questions
Is a PPE hazard assessment legally required?
Yes. OSHA standard 1910.132(d) requires every covered employer to assess the workplace for hazards that need PPE and to certify that assessment in writing. If your program does not have a signed, dated document, you are out of compliance even if your crew wears the right gear. A professional site safety audit will confirm whether your current paperwork meets the standard.
How often should a PPE hazard assessment be updated?
Update it whenever the work changes and review it on a set schedule, at least once a year. New equipment, a new chemical, a new process, or a new phase of a project can all introduce hazards the original assessment never covered. Any near miss or injury should trigger an immediate review, which is one reason our accident investigation work so often ends with an updated assessment.
What is the difference between a PPE hazard assessment and a site safety audit?
A PPE hazard assessment focuses narrowly on which protective equipment each task requires, while a site safety audit reviews the entire safety program, from fall protection to recordkeeping. The two support each other, and the audit often surfaces hazards that then get written into the PPE assessment. You can see what a full review covers on our program implementation page.
Do I need air sampling before choosing respirators?
Usually, yes. You cannot select the right respirator until you know which contaminants are present in the air and at what concentration, and that requires monitoring rather than a guess. Our industrial hygiene services handle the air-contaminant sampling that turns a respirator choice into a defensible decision.
Who should perform the assessment on a small crew?
Someone trained to recognize hazards and match them to the correct protection should perform the assessment, whether that is a qualified supervisor or an outside consultant. On a small crew without a dedicated safety lead, bringing in a credentialed consultant is often faster and cheaper than reworking a failed inspection. Our safety training can also build that skill in-house so your team can maintain the assessment between visits.
For related reading, see our jobsite safety and OSHA compliance articles.